August 16, 2014
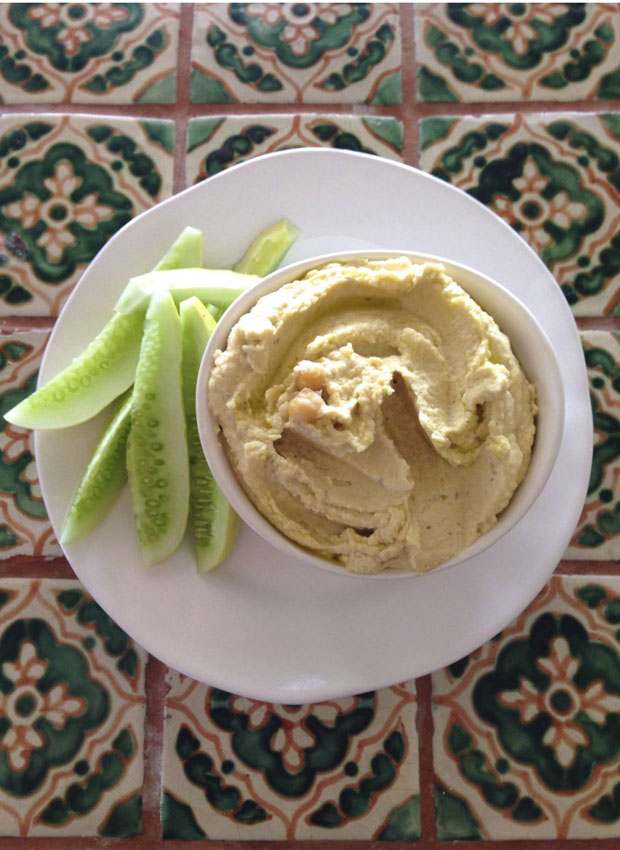

I never realized we would be eating so much hummus in France; we ate it on picnics, lunches and mid-afternoon snacking. Fresh hummus smothered on a piece of crusty bread with cucumbers — tres magnifique!
While I’m a certified hummus lover, I had no idea my family liked it. A new healthy, protein-packed option for the family repertoire? Yes, please! It’s one of the unexpected gems of traveling abroad, our family ventured out from their home base comfort zone and embraced new tastes.

Here’s our new house hummus recipe, it’s lemony, garlicky and lip-smacking good. It’s made sans tahini (sesame) to accommodate allergy issues. I’ve been putting it out on the kitchen table alongside our usual crudité while I make dinner or serving it with tomato salads at lunch. It’s getting rave reviews and is a lovely way to make those vacation memories linger.
I take the extra step of cooking my own chickpeas rather than using canned and it’s so worth it. I’ll cook up all 16 ounces of the chickpeas and use some for hummus and toss the extras into soups, salads and rice. You can totally go the canned route, but to me they’re a tad metallic tasting.

However, I’ve used canned chickpeas in a pinch. If you go this route (no judgment!), rinse and soak them in a bowl of cool water for about ten minutes to freshen them up a bit. If you want to cook your own, I’ve included the directions (it’s easy) at the end of the recipe.

Casa Rice Hummus
Makes just shy of three cups
3 1/2 cups chickpeas (two cans) and reserve a few whole peas for garnish)
1/2 teaspoon toasted and ground cumin seeds
2 large cloves of garlic
1/4 cup, plus 2 tablespoons lemon juice
2 tablespoons of water
1 1/2 teaspoon salt
2/3 cup olive oil
Add the chickpeas, cumin, garlic, lemon juice, water and salt to a blender or food processor. Drizzle in the olive oil and mix until completely smooth. Garnish with remaining chickpeas and a drizzle of best quality olive oil. Serve.
To cook dried chickpeas: Soak beans overnight in the fridge or for a few hours on the counter until they double in size. Drain beans. Add them to a large stockpot with 2 teaspoons baking soda. Cook on high heat for about 3-4 minutes. The baking soda helps the chickpeas soften. Cover with water, add a bay leaf, bring to a boil and then reduce to a strong simmer. Every now and then skim the scum that rises to the top. After 20 minutes start tasting to see if they’re done. They will take anywhere from 20 – 40 minutes to cook. You’ll know they’re done when they soften if squeezed between your pointer finger and thumb. You don’t want mushy, rather slightly granulated and soft. Now, add a good amount of salt, stirring to combine. Turn off the heat and let rest for 5 minutes.
Strain the chickpeas, but reserve the liquid. Put chickpeas in a clean storage container and pour reserved liquid over them to cover completely. Seal with a lid. These should keep in the refrigerator for about five days.
Alternatively, you can strain the chickpeas, dry gently with a towel and then lay out on a cookie sheet and freeze — just like I do with tomatoes. After a few hours, pour them into a freezer safe storage container. To thaw, rinse over cold water in a calendar and use as needed.
