June 21, 2011
Who doesn’t adore a good homemade pie? From cozy winter apple pie to sweet summer berry pie, to a savory meat pie, and even chocolate cream pie, what’s not to love? Oh, yes, the fickle, high-maintenance girlfriend of the baking world: the pie crust.

Pie crust is not new to me; I’ve been making pies since I was a teenager. But there has always been something about my crusts that just felt a little off, or at least inconsistent. Sometimes I would get amazing, flaky, delicious results, and sometimes I would waste hours of my time and mounds of gorgeous fruit only to end up with either a too hard or a too soggy mess. So this year, as the season for delectable summer fruit approaches, I decided to ask for some help from a friend.
The fabulously talented Elizabeth Colling just left her job in NYC as a pastry chef and stylist for Martha Stewart Weddings to move out west. On this coast, we’ve become fast friends, and I was thrilled when she agreed to give me a pâte brisée tutorial. We ended up devoting the entire day to making pies side by side in my kitchen. By the time we were done, Elizabeth had taught me so many things and helped me feel truly comfortable with the process. Not to mention—our families got to reap the delectable rewards of our work!
Makes two rounds of 9″ pâte brisée (aka pie crust)
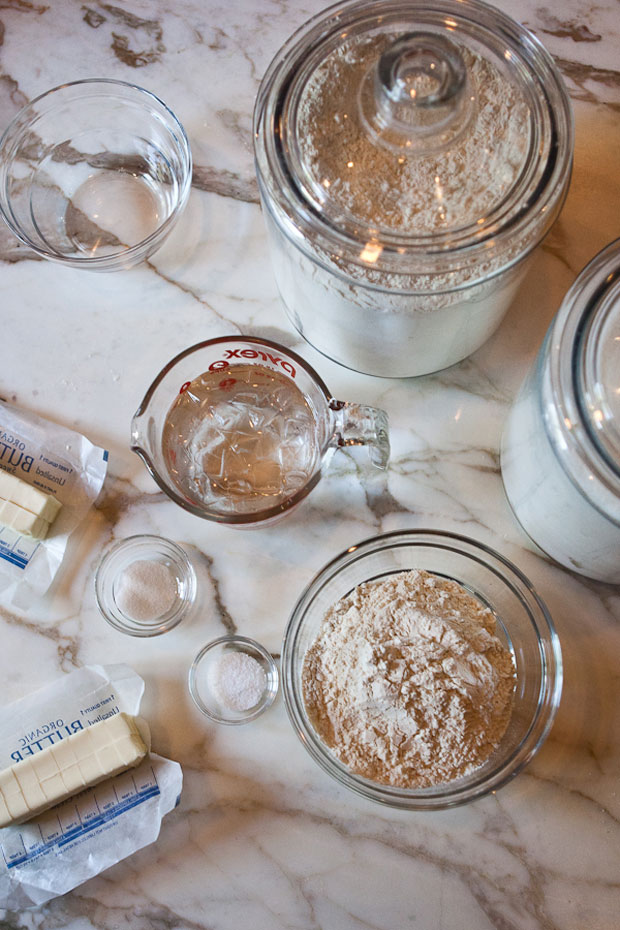
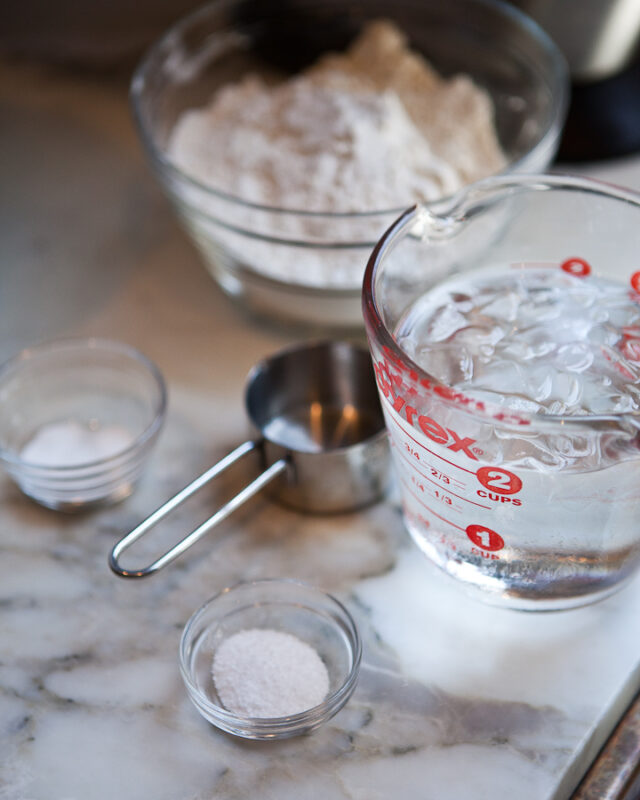
2 1/2 cups flour
1 teaspoon sugar
1 teaspoon salt
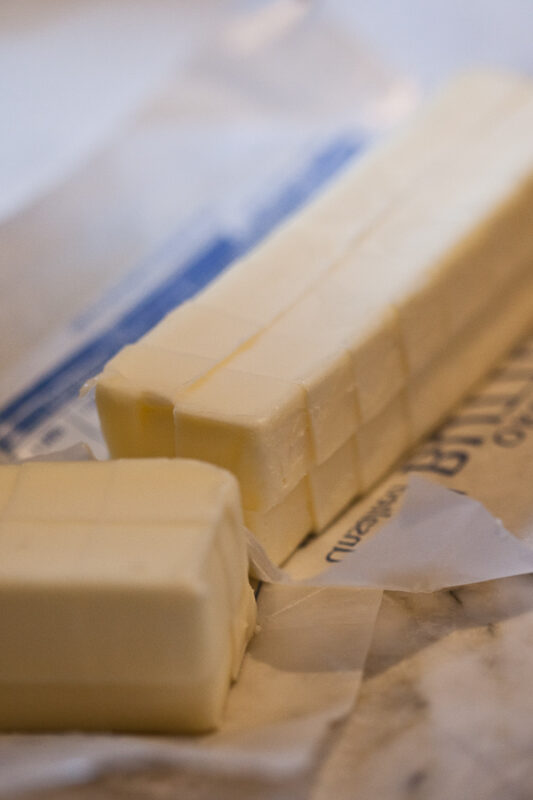
1 cup butter, cut into small cubes
1/3 cup plus 2 tablespoons ice-cold water
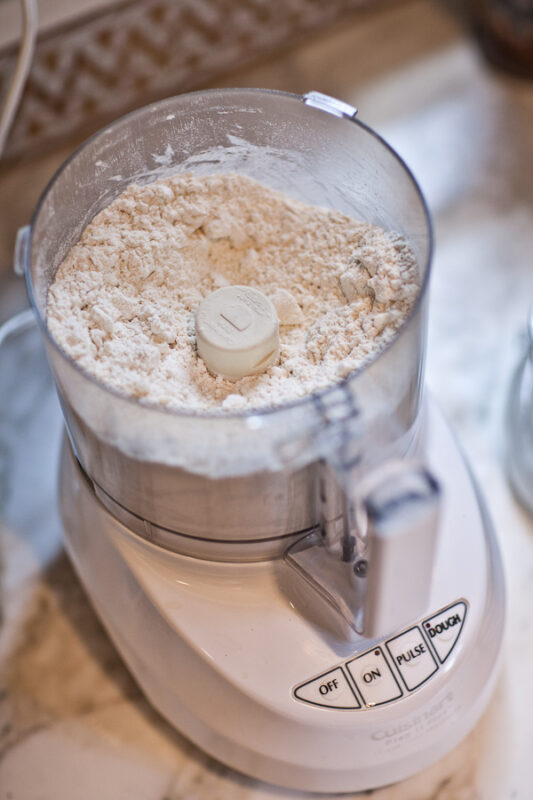
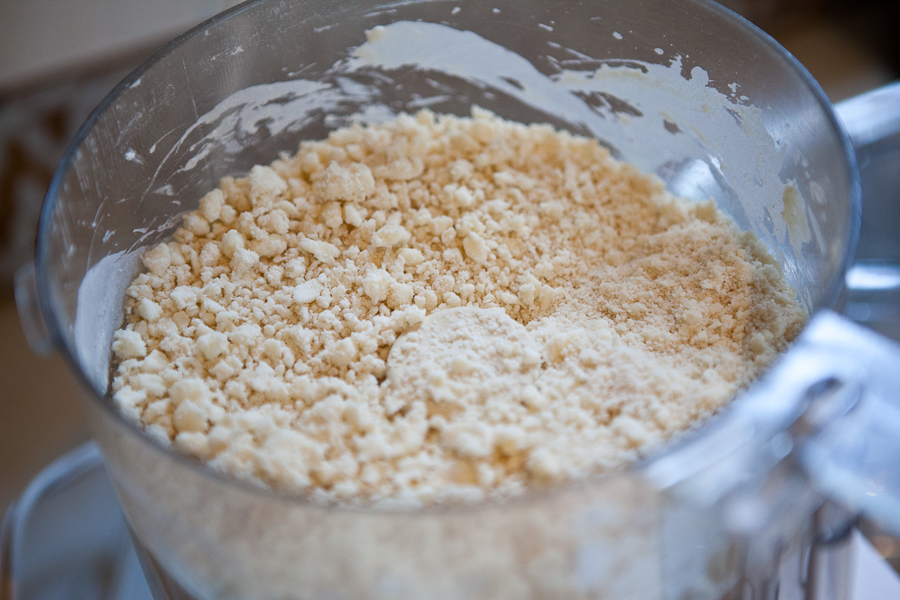
Add the flour, sugar, and salt to a food processor fitted with a steel blade and pulse 3 times to incorporate. Add the butter and pulse 5 times. Next, add the water and pulse about 10 times to incorporate. Shake the machine (if you can) to move the mixture around in the bowl of the processor (do not over-mix). It should look like this:
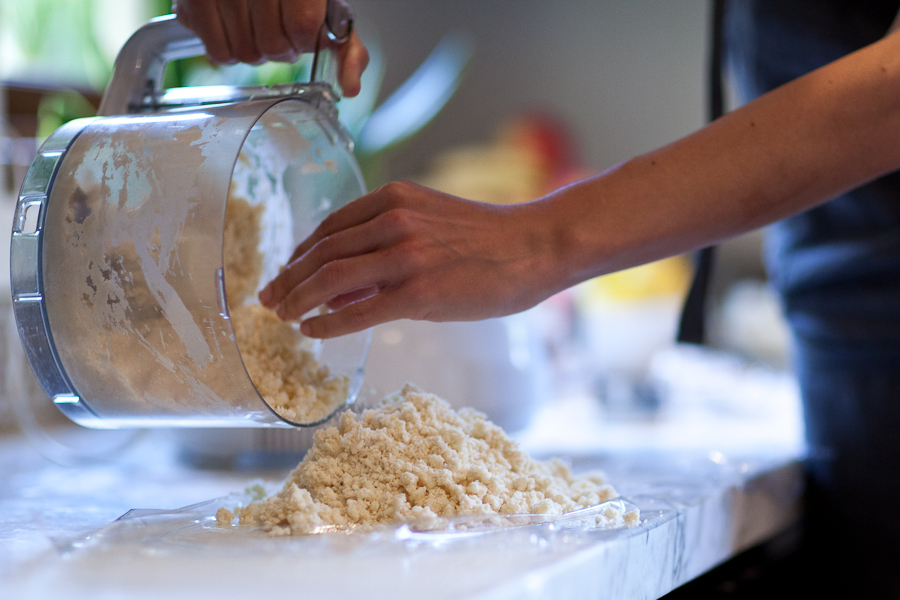
Lay out two large sheets of plastic wrap and divide the dough into piles on each. (It will be loose and grainy, but if you squeeze it together with your fingertips, it should come together easily.)
Moving quickly, slide your hands under the plastic wrap, then squeeze and press the mixture together. Then rotate the plastic wrap 90 degrees and do it again. Continue to work the dough until it comes together in one piece, pressing it together about 5 times (be careful not to overwork the dough). Then fold the plastic over the dough so it seals the dough in, kind of like you’re wrapping a present.
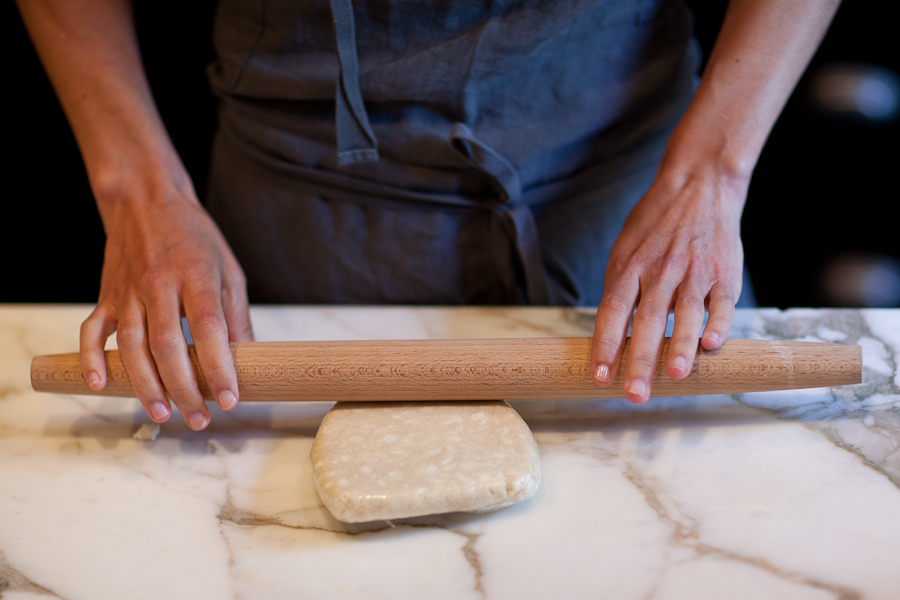
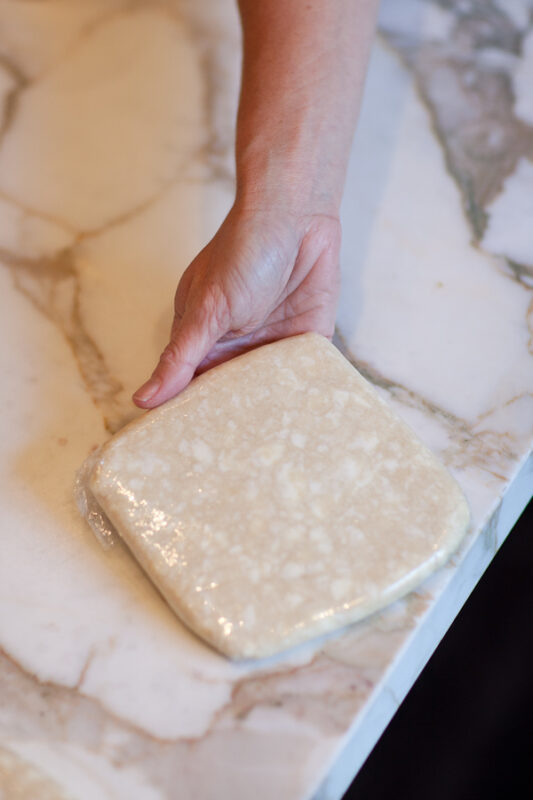
Using your rolling pin, roll over the dough in the plastic wrap to flatten and form it into disks. You will see coin-sized butter marks in the dough and that is what you want. Those butter pieces will keep the crust flaky. Refrigerate the dough for 1-2 hours.
After the dough has chilled, roll it out on a cool, lightly floured surface (I prefer a baker’s rolling pin without handles). Bake according to the instructions given in your pie recipe,
Tips For a Perfect Pie Crust:
More of Elizabeth’s beautiful work can be found on her website: www.elizabethcolling.com
Photography by https://www.erinfeinblatt.com/